Before getting started, verify if the organization or user has the required license to use e-discovery:
Organization must have a Microsoft 365 E3 or Office 365 E3 subscription or higher
or
a user must be assigned one of the following licenses, depending on organization subscription:
- A Microsoft 365 E3 or Office 365 E3 license or higher
OR
- Office 365 E1 license with an Exchange Online Plan 2 or Exchange Online Archiving add-on license
AND
- Office 365 E1 license with an SharePoint Online Plan 2 or OneDrive for Business Plan 2 add-on license
1) Open eDiscovery from Security and Compliance Center in Microsoft Edge and log in using Global Admin credentials
https://protection.office.com/ediscoveryv1 or https://compliance.microsoft.com/
2) Click on Create Case

3) Enter details for case and click save

4) Now that a case has been created, click on Open to continue in a new tab.
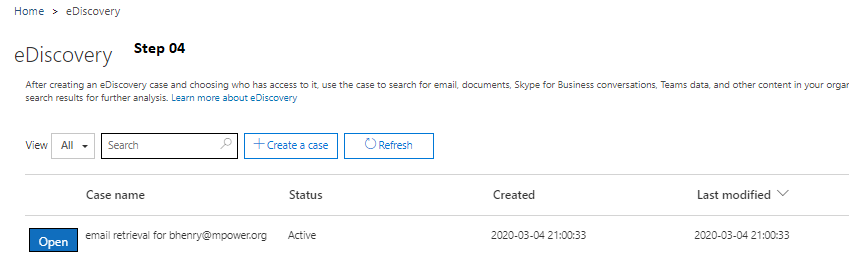
5) Click on the Search tab, and select New search
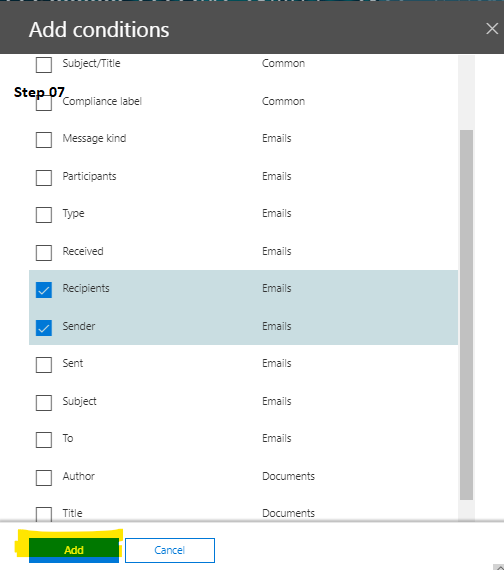
6) Click on Add Conditions

7) Under Conditions, select Recipients and Sender conditions, and click Add.
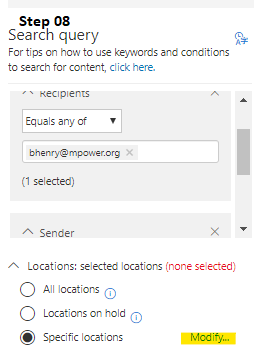
8) Click on Modify to select locations for the search
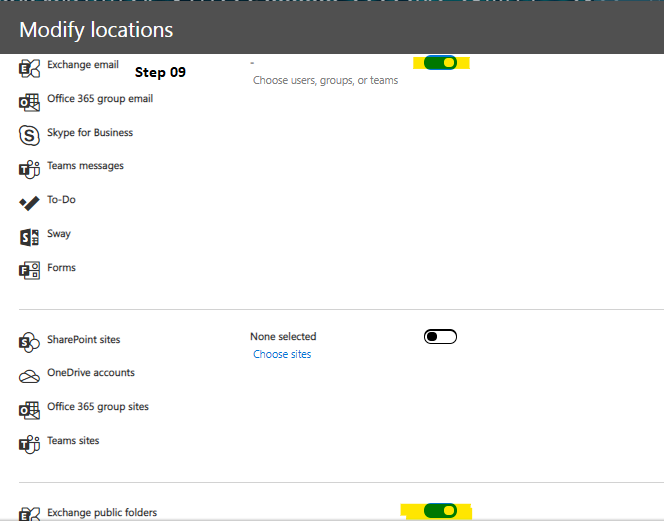
9) Under Modify Locations, select Exchange email. (Exchange Public Folders is an optional location, You can choose to leave it for this search). Click Save to return to the previous screen.
10) Click on Save & Run

11) Enter the name for the search and click Save.

12) After the search is complete, you can check and verify if the user's deleted emails are available.

Please proceed to the steps below to export them
13) Select the Exports tab and click on the search result.

14) Select your Output options, and Exchange content options, and select Export.

15) Select Download results to initiate a download of the Export Tool.

16) Click on open to run the tool.

17) Enter your export key and a location to download the .pst file.

18) A dialogue box will confirm the status of the download. You will find the .pst file in the location specified.

**FIN**
Comments
0 comments
Please sign in to leave a comment.